How to Streamline Vendor Onboarding with EDI
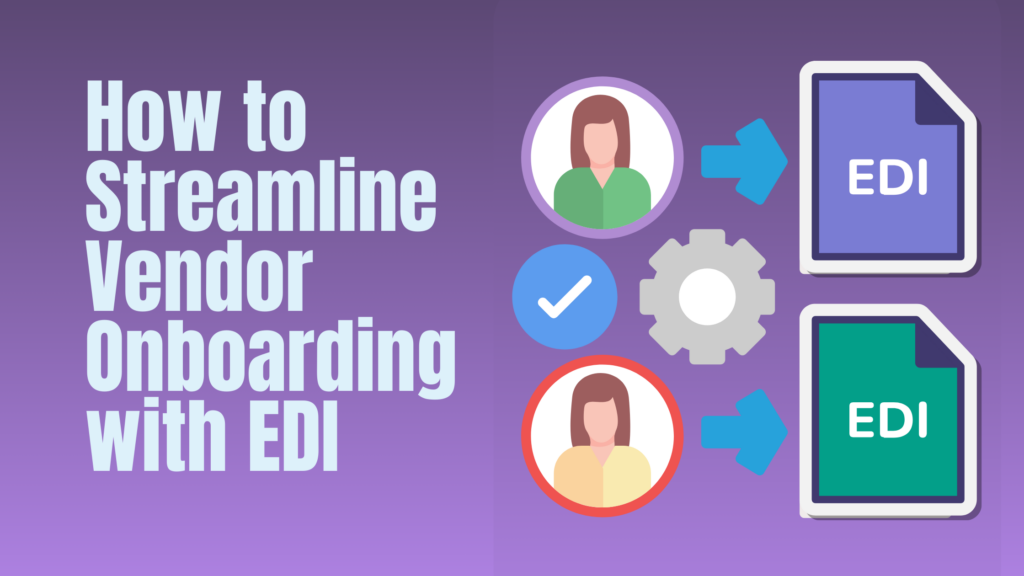
In today’s business world, organizations need to streamline their supply chain processes and achieve automation. One key aspect of achieving this goal is efficiently onboarding vendors to Electronic Data Interchange (EDI) solutions. EDI allows for the seamless exchange of business documents, such as orders, invoices, and shipping notices, between trading partners. However, the process of onboarding vendors to EDI can be complex and time-consuming if not approached strategically.
In this blog, we will walk you through the seven key steps to efficiently onboard vendors to EDI. We will provide you with valuable insights and practical tips to ensure a successful vendor onboarding process. From kick-off to post-go-live, we will cover everything you need to know to simplify and streamline your vendor onboarding process.
EDI in Retail Order Processing and Inventory Management
Step 1 – Kick off and Definition of EDI Requirements
The first step in the vendor onboarding process is to kick off the project and define your organization’s specific EDI requirements. It is crucial to have a clear understanding of your internal processes and document types that need to be realized through EDI. This includes determining how orders, deliveries, and invoices are handled, as well as identifying the specific document types that need to be exchanged.
When discussing your requirements with your EDI provider, consider the following aspects:
- Processes: Understand how your organization handles orders, deliveries, and invoices. This will help your EDI provider tailor the solution to meet your specific needs.
- Document Types: Identify the document types that need to be exchanged, such as invoices, orders, and dispatch advice. Determine if you require additional document types, such as sales data reports or inventory reports.
- Message Data Granularity: Define the data elements that should be included in each message. Consider additional information, such as descriptions or best-before dates, that may be required.
- Message/Process Semantics: Communicate the structure and content of your exchange messages. Share your preferred data model exchange format with your EDI provider for data mapping.
- Message Protocols: Determine how your EDI data will be exchanged with your back-end system. Choose the appropriate protocol, such as API, SFTP, or HTTP, that aligns with your organization’s infrastructure.
By clearly defining your EDI requirements, you will set the foundation for a successful vendor onboarding process.
Step 2 – Creation of Message Implementation Guide (MIG)
Once your EDI requirements have been defined, the next step is to create a Message Implementation Guide (MIG). The MIG serves as a comprehensive guide for your trading partners, outlining your organization’s EDI requirements and message formats.
During this step, your EDI provider will work closely with your internal team to create the MIG. The MIG should include detailed instructions on how to create and exchange EDI messages, ensuring consistency and accuracy in the data exchanged.
To ensure the reliability of the MIG, fully managed EDI providers, such as Inventory Source, conduct thorough testing. They may send sample messages to your system and enlist the help of a close supplier to conduct a parallel phase. This ensures that everything is functioning correctly and allows for any necessary adjustments to be made.
Creating an accurate MIG is crucial for the success of the rest of the vendor onboarding process. It provides clear guidelines for your trading partners, minimizing errors and streamlining the exchange of EDI messages.
Step 3 – Creation of Web EDI Platform
In addition to integrated EDI solutions, you may also consider implementing a Web EDI platform to automate the document exchange process with suppliers who do not have EDI capabilities. Web EDI allows for the exchange of documents through a web-based portal, eliminating the need for traditional EDI infrastructure.
When creating your Web EDI platform, it is important to ensure that it aligns with the scope of message types used with your suppliers via integrated EDI. This includes considering non-mainstream documents, such as sales data reports or receiving advice messages, that may need to be exchanged.
The creation of your Web EDI platform should be done in parallel with the MIG creation process. This involves connecting the EDI solution to your ERP system and configuring the platform to meet your specific requirements. Your suppliers should be able to send test documents via the platform according to the MIG, allowing you to verify the functionality and accuracy of the system.
Selecting a Web EDI system that minimizes effort on your suppliers’ side can greatly increase adoption across your supply chain. Look for features such as semi-automatic document creation, PDF printing, and batch support to simplify the document exchange process.
Step 4 – Prioritizing/Approaching Your Partners
Once your MIG and Web EDI platforms have been created, it is time to prioritize and approach your partners for onboarding. It is important to strategize with your EDI provider to determine the order in which partners will be onboarded to maximize the benefits of the new system.
Consider prioritizing partners based on factors such as their size or the strength of your relationship. Your EDI provider, with their experience in handling similar projects, can offer valuable input in determining the best onboarding strategy.
During the onboarding process, your EDI provider should approach each partner to clarify details such as identifiers (e.g., GLN number), current capabilities, and preferred connection type (e.g., AS2, X.400, VAN). This ensures that your partners are fully informed about the onboarding process and can provide the necessary information for a smooth transition to EDI.
Step 5 – Message Exchange Testing/Validation
The testing phase is a critical step in the vendor onboarding process. It involves sending test messages to your suppliers to ensure that they can correctly receive, process, and respond to the messages.
During testing, if your supplier returns an incorrect message, your EDI provider should inform them of the errors and guide how to correct them. Validation of messages can be done manually by checking them against the MIG, but automatic or semi-automatic validation checks are more efficient and less prone to errors.
Automatic checks, such as those provided by Inventory Source’s Integration Hub, can immediately return error reports to the document issuer, enabling quick corrections. Manual checks, on the other hand, require more effort and time.
Once any errors have been corrected, the messages will be sent to your internal team for review. If you have opted for a fully managed EDI provider, they will handle the review process, reducing the burden on your internal resources.
Step 6 – Go-Live
When you are satisfied with the results of the testing phase, it is time to go live with your EDI connections. Depending on your organization’s preferences, you may choose to run a parallel phase alongside your previous message exchange method for some time to ensure a smooth transition.
For suppliers connected via Web EDI, the go-live process is even simpler. They simply need to be activated on the platform, and if the platform is user-friendly, training may not be required. Pre-recorded videos or documentation can be provided to assist the suppliers in navigating the platform.
Step 7 – Post Go-Live
While go-live marks the end of the vendor onboarding process, ongoing document exchange with your partners requires continuous monitoring and error handling. It is essential to have processes in place to ensure message monitoring, error resolution, and the installation of updates to maintain a future-proof system.
With a fully managed EDI provider like Inventory Source, you can benefit from their ongoing support and expertise. They will act as a point of contact for your suppliers and proactively work to correct errors and ensure efficient connections. This relieves the pressure on your internal teams and allows them to focus on core business activities.
Additionally, consider investing in a flexible solution that can adapt to your changing needs over time. For example, Inventory Source offers the option to add additional Supplier Relationship Management (SRM) modules as required, ensuring that your EDI system can grow alongside your business.
Conclusion
Efficiently onboarding vendors to EDI is a crucial step in streamlining your supply chain processes. By following the seven key steps outlined in this comprehensive guide, you can simplify the vendor onboarding process and achieve automation across your supply chain. Remember to define your EDI requirements, create a comprehensive MIG, leverage Web EDI platforms, prioritize partners, conduct thorough testing, and ensure ongoing support and monitoring.
At Inventory Source, we understand the challenges of vendor onboarding and offer fully managed EDI solutions. Our experienced team will guide you through each step of the process, ensuring a smooth transition to EDI and ongoing support. Contact us today to learn more about our comprehensive EDI onboarding solutions and how we can help you streamline your vendor onboarding process.
Discover the Power of Inventory Source: An Introduction Video
Recent Articles

How Unified Asset Intelligence Powers Smarter Business Strategy for SaaS Startups
Learn how unified asset intelligence gives SaaS startups real-time visibility into hardware, software, and cloud assets to reduce costs and scale efficiently.

Is Dropshipping Dead in 2026? Data, Automation & the Shift to Compliant Niches
Discover why dropshipping isn’t dead. Learn how automation, APIs, compliance, and niche selection drive growth in 2026.
The Ultimate Dropshipping Supplier API Checklist: From Firearms to Medical Supplies
Learn how a dropshipping API automates supplier integrations, inventory synchronization, order routing, and catalog management at scale.